Do you want to increase energy efficiency and privacy? Applying home window tinting film is the best option to improve privacy while reducing the natural light quantity. Window tinting films also reduce heat gain in summer and improve comfort. It is not a costly process, but it can be cumbersome if you make some mistakes, like not properly moisturizing window glass.
Materials and tools required for window tinting
Material and tools are essential when applying window tint film by yourself. Here is the list of material and tools needed for home window tinting :
Tools
- Ruler
- Spray
- bottle
- Squeegee
- Plastic
- scraper
- Measuring
- tape
- Trimming
- knife
Necessary material
- Window
- tinting film
- Window
- cleaner
- Window
- washer cloth
- Baby
- shampoo
- Clean
- water
- Masking tape
Steps to apply window tint film


Once you choose the proper film, you can start the installation process. Here, I will present a comprehensive guide to applying window tint by yourself. Follow this to avoid mistakes.
Step 1: Clean and dry the window
You can use a glass cleaner or shampoo to clean your window glass and its sides. Auto Boss experts suggest using an ammonia-based window cleaning solution. Spray the solution on your window and wipe it off with a squeegee. Ensure no cleaning solution residue remains on the surface, as it can dissolve the window film’s adhesive. After wiping off the cleaner from the glass surface, dry it with a lint-free cotton mitt or soft towel. Remember, drying is an essential factor to avoid contamination during the installation. Don’t use harsh chemicals and cleaning material as it will damage or scratch the tinting film.
Pro-tip: Ensure your window glass is clean; consider the corners and edges. Don’t apply excessive cleaning solution on the window.
Step 2: Spray the window surface with clean water
Make a solution of clear water and a few drops of shampoo. Fill a medium-sized spray bottle with the cleaning mixture. Spray the mixture on your window glass. The mixture helps fix tinting film with window glass. It also helps the window tint to slide around and get it fixed.
Pro-Tip: Keep the window surface moist because window film will not adhere to the dry part of your window. It can cause early peeling or visible imperfections.
Step 3: Measure the window, film, and trim it
Measure the length and width of window glass accurately, then measure the window film. Roll your window tint onto a flat surface and trim it, leaving a two-centimeter excess from all sides. Peel off the sticky side of the tint before putting it on the glass. Use masking tape on both sides to protect the film from slipping down.
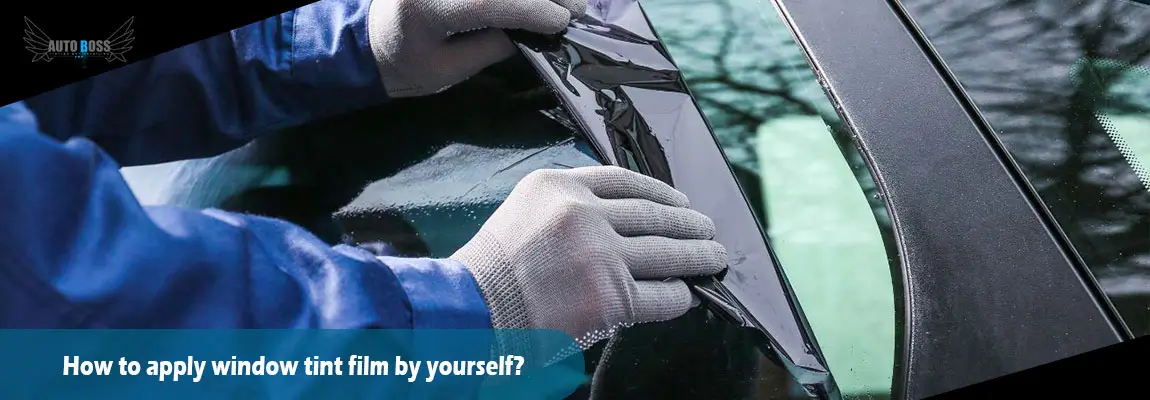
Step 4: Put the tinting film onto the window
After peeling off the window tinting film backing from the top, set the topmost part of it correctly on the window glass. Start peeling the rest of the backing and put the complete film on the glass.
Pro-Tip: Some window tinting films come with a semi-transparent protective backing that makes it difficult to peel off. For tinting films of this type, use a piece to tap to remove the backing.
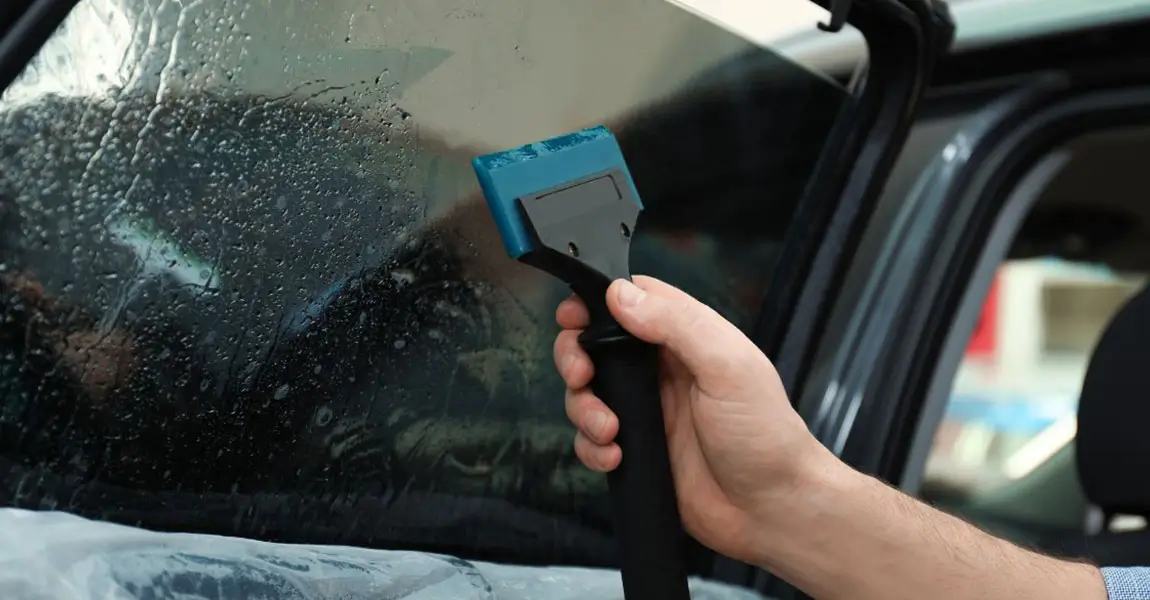
Step 5: Removing the backing and setting tint on the glass
Flatten the film onto the window glass, along with peeling the support of the layer with a squeegee. Start using a squeegee from the middle of the window towards the edges. Keep spraying to moisten the surface until you finish applying your window tint.
Step 6: Remove the air bubble
Squeegee removes the larger bubbles from your window tinting film. However, you may have small bubbles or small water pockets. Remove this small amount of moisture with the help of a plastic scraper. Plastic scraper not only removes tiny bubbles or air, but it helps window film to adhere properly to your window.
Step 7: Final finishes
When All the imperfections, like air bubbles and water pockets, are cleared, it’s time to trim out the excessive film, trimming the edges with a sharp blade. After timing the edges, scrape your tint film again with a plastic scraper. Tuck the edges hard. Remember, don’t let water remain in the window film and the glass. Let the film cure, curing time for every film type, effective installation, and other factors. Curing time may take a few days to a whole month, depending upon the environmental factors.
Pro Tip: Use a scraper on your tint two to four times to Ensure no water or air bubbles are present.
Related Article: Does car window tinting block vu rays
Conclusion
Window tinting film is a unique way to improve privacy without compromising light quantity. Tinting films offer protection to the interiors like furniture and valuables. Applying window tinting film involves preparing your window glass, spray removing the backing, and carefully placing it on the window. You can save your money by using window tint by yourself. However, it is a delicate task and requires proper attention and time. If you don’t have enough time and skills, you can talk to our experts. Our team of experts helps you apply office or home window tinting film.
FAQs
Does window tint film require glue?
The glue or adhesive is significant for retaining window film in its place for years. A low-quality adhesive causes window tint to bubble or peel away.
Which liquid do you need to install home window tinting films?
A few drops of mild dishwashing soap and clean water are the perfect mixture for wetting the window film. You can use shampoo as a soap replacement.
Which tint type is better?
Ceramic window tinting is better for UV protection and superior performance.
Why is the window tinting film not sticking?
If the glass is not properly wet, and the edge of the window tint may peel off, leaving the whole film to fall.