Great news! After you read this blog, you will be able to give a stunning look to your car without spending a fortune of money on a painting job.
Yes, we are talking about vinyl wrapping your vehicle. And the answer is yes, you can do it by yourself. A pair of helping hands will also be necessary and really come in handy for this DIY.
We will share a detailed how-to tutorial on vinyl wrapping your vehicle and offer you aftercare tips; you’ll find all the necessary information here. We can’t wait any longer. Let’s begin!
Vinyl Wrapping
First of all, for those people who are still in a situation in which they can’t understand whether to apply vinyl wrap on their vehicle or paint their car, let’s begin by telling you that cost-effective vinyl wrapping DIY can give your vehicle a fantastic brand-new look, where painting often requires professional execution, which can be very costly.
If you custom paint your vehicle, the price can reach really high, whereas you might get plenty for vinyl designs and statement prints for less cost. Therefore, vinyl films are usually low-maintenance compared to car paints.
Another major part where vinyl film aces the game is its removal. Removing vinyl films from a vehicle is very easy, and the paint under the film will look just as new afterwards. Moreover, the removal of paint is very difficult and often demands costly professional care.
How To Vinyl Wrap a Car?
So, have you finally decided to give your vehicle a proper treatment using vinyl films? If yes, let’s take a look at the step-by-step procedure to apply these vinyl films quickly and firmly to your car.
Step 1. Have A Proper Plan
As we all know, only one can succeed with a plan. Before vinyl wrapping your vehicle, this step is essential. If you want to cover your car in designed vinyl wrap sheets, make sure that the design of the film is high quality and does not break or look distorted when stuck into a 3D surface.
Also, the better the quality of the vinyl wrap is, the longer it will last. However, the differences between vinyl films and paint jobs are not detectable to the naked eye in the beginning. Vinyl wraps of low quality will fade and bubble over time.
So, if you want your vehicle vinyl films to last longer, the best way is to go for top-branded and best-quality vinyl sheets.
Step 2. Decide Your Work Area
It is equally important from where you start vinyl wrapping your vehicle that you choose the right location. If you’re thinking of working outdoors, we convincingly suggest you reconsider.
Simply put, we need a facility where dust particles of all sizes are less likely to stick to the surface.
Vinyl films are unforgiving, and every small detail is shown. Therefore, big chunks of dust might even tear the film, eventually allowing water to seep into and weaken the adhesive material.
Likewise, the temperature on the day you will be working also matters a lot. In fact, it is another reason why people, especially car owners, shouldn’t wrap their vehicles outdoors, as the temperature outside is not something you can control.
If the temperature is too high, there is an excellent chance that the adhesive will activate rapidly, giving you only little time to DIY and, thus, hasty results will occur. Heat might even cause the film to become too soft, which might cause discoloration in over-stretched areas as well as distortion of the visuals.
Likewise, installing when it’s too low isn’t a good idea either. Cold temperatures might make the films brittle, thus making them difficult to install. Therefore, the bonding property of adhesion around the edges and curves might also be damaged.
So, to avoid all these critical problems and for smooth vinyl film installation, ensure that the surrounding temperature is warm, i.e., preferably 60 to 80 degrees.
Step 3. Prepare The Canvas
Now, it’s time to prepare the canvas! While vinyl wrap is being installed, major problems like chips, dents, and rust can pose problems.
If the film sticks to the imperfections, it will be evidently visible, and if it does not, Bubbles may form and tear apart the area.
The paint under the film should be intact, and the film should glide over a smooth surface before installation.
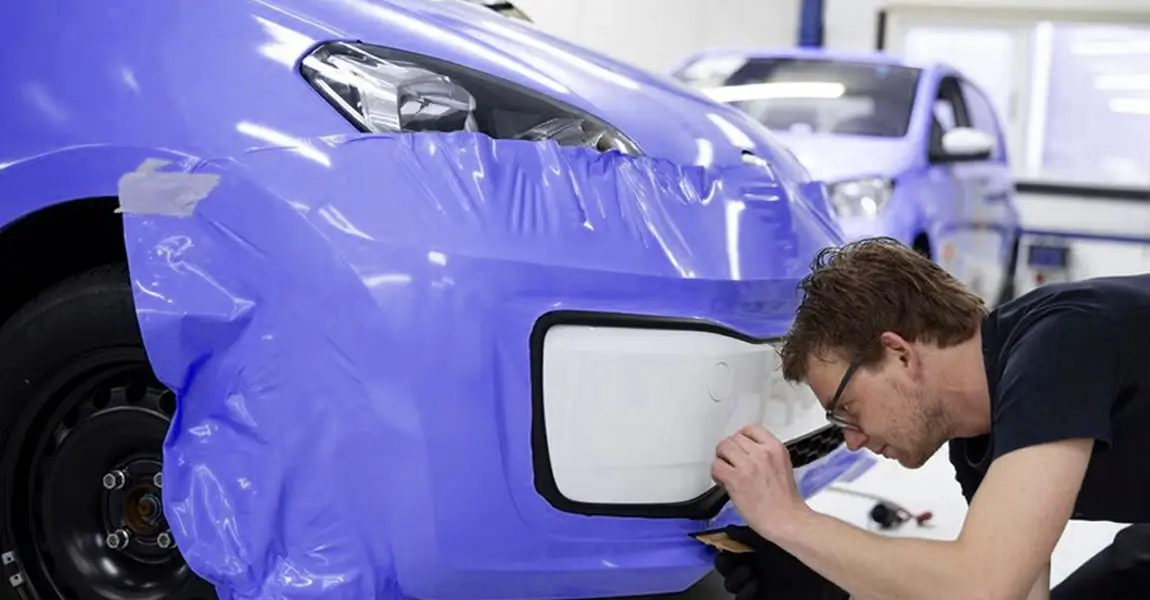
Step 4. Remove Any Hindrances
Going over small surfaces, mirrors, door handles, and headlights is easy to do. When you are doing DIY for the first time, it can add up to hours of work. You can save yourself some hassle by removing these obstacles before you begin the installation process.
Step 5. Clean The Work Area and Your Car Surface
Sweep or vacuum the area clean before beginning the installation. Avoid the cleaning and installation side by side, as sand and dust flying around can stick to your car’s surface and create problems during the installation.
Vinyl films accentuate the imperfections. So, sand particles and dirt might look more evident once the films are installed. That’s the reason why you should clean the car surface thoroughly beforehand.
To make sure that the surface is left clean and the cleaner does not affect the bonding ability of the adhesive, use a non-wax car cleaner. Then, wipe the surface one last more time using isopropyl alcohol and a lint-free cloth. Doing so ensures that absolutely no speck of dirt is left behind.
Step 6. Measure And Cut the Vinyl Sheets
Measure and measure vinyl film twice to ensure accurate dimensions. It is helpful to draw a rough diagram of your vehicle and also write down the measurements.
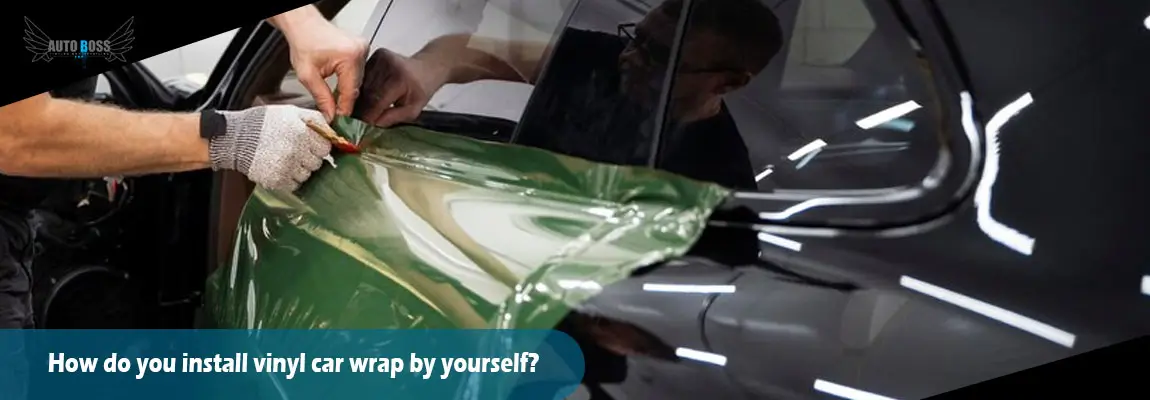
Step 7. Apply the vinyl wrap to the car.
Peel off the wrap backing and start laying it on your car. Start laying the vinyl wrap from the middle and towards the edges. Try avoiding air bubbles by using a squeegee. We suggest you use a heat gun to remove air bubbles trapped under the wrap surface.
Conclusion
Although installing vinyl wrap seems easy, however, it requires patience, care and focus. It is not advisable for those who have less time and want their vehicle wrapped within a specific time. If you want your free time easy, leave the task to Auto Boss.