A clean, well-maintained car looks excellent. A maintained interior provides a comfortable and healthy environment for the driver and passengers. Many of the driver focus on the car’s exterior appearance
It’s equally important to pay attention to the interior. Full interior detailing includes those often overlooked areas like the vents. Cleaning your car’s vents not only enhances the overall aesthetics of your vehicle. It ensures better air quality and circulation. Here, I will explore the importance of vent cleaning, the necessary tools and materials, and a step-by-step process to achieve a spotless interior.
Caring for Your Car’s Vents: The Importance of Regular Cleaning
Improved Air Quality Over time, dust, dirt, and debris accumulate in your car’s vents. It leads to poor air quality inside the cabin. When you turn on the air conditioning or heating system, dust particles blow into the air you breathe. Cleaning your vents helps remove these contaminants, promote better air quality and reduce allergen exposure.
Enhanced Cooling and Heating Efficiency
A clogged vent system can obstruct the airflow from your car’s HVAC (Heating, Ventilation, and Air Conditioning) system. It reduces cooling or heating efficiency. It also causes discomfort during extreme weather conditions. Cleaning the vents ensures that air free flow. It maximizes the performance of your HVAC system.
Preventing Unpleasant Odors
Mold, mildew, and bacteria can thrive in damp and dark areas like car vents. These microorganisms can produce unpleasant odors that linger inside your car. Regular vent cleaning helps prevent the growth of these odor-causing agents, keeping your car smelling fresh.
Tools and Materials
As a first step, ensure you have all the necessary tools and materials before you begin the vent-cleaning process. Here’s a list of what you’ll need:
Compressed Air Canister
A compressed air can is a handy tool for dislodging loose dust and debris from the vents. It’s readily available at most auto parts stores and online retailers.
Vent Brush
A vent brush or interior detailing brush with soft bristles is important for reaching and dislodging dirt from the narrow spaces within the vents.
Microfiber Cloth
A soft cloth is perfect for wiping down the vents and other interior surfaces. It’s gentle on your car’s surfaces and helps in cleaning the car without scratching or damaging them.
Cleaning Solution
You may need a cleaning solution to tackle stubborn dirt or sticky residues. A mixture of water, mild detergent, or a dedicated automotive interior cleaner will work well.
Screwdriver (if necessary)
Sometimes, you may need to remove the vent covers for a thorough cleaning. A screwdriver or a panel removing tool can be helpful for this step.
Vacuum Cleaner
A nozzle-attached vacuum cleaner with a ment can suck up loose dirt and debris from the vents and surrounding areas.
After gathering your tools and materials, let’s dive into cleaning your car’s vents.
Step-by-Step Guide to Cleaning Car Vents
Here, I will guide you through step by step cleaning guidelines
Step 1: Preparation
Ensure your car is parked in a well-ventilated area, preferably outdoors, as cleaning vents can stir up dust. Roll down the windows to allow fresh air to circulate while you work. Disconnect the car’s battery or turn off the ignition to prevent any mishaps with the electrical components.
Step 2: Remove Loose Debris
The compressed air canister blows out loose dust and debris from the vents. Work from left to right or top to bottom, ensuring you cover all the vents in your car. Hold the canister upright and use short bursts of air to avoid freezing the canister.
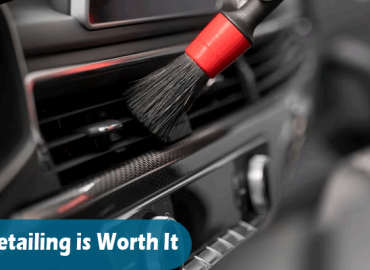
Step 3: Brushing
With the loose debris removed, use the vent brush to agitate and dislodge any remaining dirt gently. Insert the brush into the vents and sweep it back and forth. Make sure to reach as far into the vents as possible. Be patient and thorough during this step.
Step 4: Vacuuming
Next, use the vacuum cleaner with a nozzle attachment to suck up the dislodged dirt and debris from the vents and the surrounding area. Vacuuming ensures that the loose particles don’t settle back into the vents.
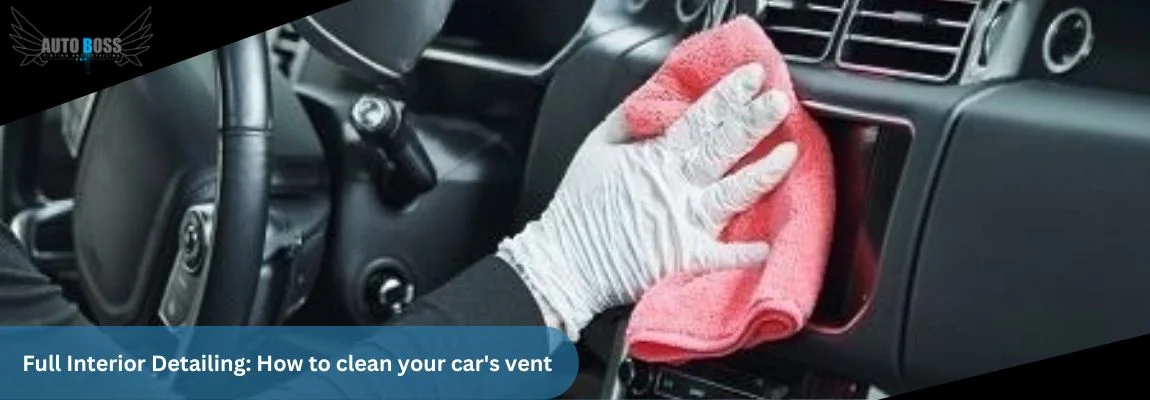
Step 5: Cleaning Solution
If your vents have sticky residues or stubborn grime, dampen a microfiber cloth with your cleaning solution (water, mild detergent, or an automotive interior cleaner). Gently wipe down the vent surfaces, pay attention to any visible dirt or stains. Avoid excessive moisture, as we suggest not to introduce water into your car’s vent system.
Step 6: Removing Vent Covers (if necessary)
In some car models, you may need to remove the vent covers for a more thorough cleaning. Check your vehicle’s manual. Look for visible screws or clips holding the covers in place. Use a screwdriver or a panel removal tool to remove the vent covers carefully. Clean them separately with a brush, cloth, and cleaning solution.
Step 7: Reassemble and Test
After cleaning the vents and vent covers:
- Reassemble them if you removed any during the process.
- Make sure everything is securely in place.
- Reconnect the car’s battery or turn on the ignition.
- Test the airflow from your vents to ensure it’s unobstructed and functioning correctly.
Additional Tips and Considerations
- Regular Maintenance: To keep your car’s vents clean, consider incorporating vent cleaning into your routine car maintenance schedule. If you live in a humid or dusty area, aim to clean them every few months.
- Use Appropriate Cleaners: Choose one specifically designed for automotive interiors when selecting a cleaning solution. Avoid harsh chemicals that may damage the surfaces or leave behind strong odors.
- Professional Detailing: If you need more time to clean your car’s vents, consider taking your vehicle to a professional interior detailing service. They have the expertise and specialized equipment to ensure a thorough and safe cleaning process.
- Cabin Air Filter Replacement: Alongside vent cleaning, remember to replace your car’s cabin air filter regularly. A clean filter helps maintain air quality inside the cabin.
- Protective Measures: To prevent excessive dirt buildup in your vents, consider using window deflectors or keeping your windows cracked when parked in dusty areas. It reduces the amount of outside debris entering your car.
Conclusion
Cleaning your car’s vents is a crucial part of full interior detailing. It not only enhances the aesthetic appeal of your vehicle but also contributes to better air quality, improved HVAC system performance, and a more pleasant driving experience. Follow the step-by-step guide and incorporate regular vent maintenance into your car care routine. You’ll ensure your car’s interior remains clean, comfortable, and healthy for you and your passengers. Remember, a little effort goes a long way in maintaining your vehicle’s overall quality and value.