It’s easy to focus on the exterior when it comes to keeping your car looking and feeling fresh. A good wash and wax can make a difference in curb appeal, but what about the inside? A clean interior looks better and contributes to a healthier driving environment. One often overlooked aspect of interior detailing is cleaning the air vents. These small openings can accumulate dust, dirt, and even mold over time, impacting the air quality inside your vehicle. In this guide, we will delve into the importance of cleaning your car’s air vents and provide step-by-step instructions on how to do it effectively.
Why Should You Clean Your Car’s Air Vents?
Before we jump into the interior detailing process of car’s air vents, let’s understand why cleaning your car’s air vents is so important. Here are some compelling reasons:
Improved Air Quality
Your car’s air vents are responsible for distributing both hot and cold air throughout the cabin. When they are clogged with dust and dirt, the air passing through can carry allergens, bacteria, and unpleasant odors. Cleaning your air vents can significantly improve the quality of air you breathe while driving.
Preventing Allergies
Dirty air vents can exacerbate symptoms if you suffer from allergies or respiratory issues. Mold and dust mites can thrive in the dark, damp environment inside the vents, leading to allergy flare-ups and other health problems. Regular cleaning can help reduce allergen buildup.
Maintaining Aesthetic Appeal
Clean air vents are aesthetically pleasing and make your car’s interior look well-maintained. Neglecting them can give your vehicle a neglected appearance, which is not ideal if you want to maintain the value and appeal of your car.
Enhancing Efficiency
Blocked air vents can hinder the efficiency of your car’s heating and cooling system. It means your car might take longer to reach a comfortable temperature, which can be inconvenient and wasteful.
Preventing Unpleasant Odors
Odors from spilled drinks, food, or other sources can become trapped in the air vents. Cleaning them can help eliminate these odors, making your car smell fresh and inviting.
The cleaning process
Now that you understand why it’s important, let’s dive into the step-by-step process of cleaning your car’s air vents.
Step 1: Gather Your Supplies
Before you begin cleaning your car’s air vents, make sure you have the following supplies on hand:
- Microfiber cloths are ideal for dusting, cleaning, or wiping down surfaces without leaving streaks or lint.
- Soft-bristle brush: A small brush with soft bristles, like a paintbrush or a dedicated vent brush, will help you dislodge dust and debris.
- Compressed air: An air compressor or canned air will be handy for blowing out dust and particles from hard-to-reach areas.
- Cleaning solution: Make a mixture of water and a mild detergent or a dedicated car interior cleaner. Ensure it’s safe for use on plastics and won’t harm your car’s interior.
- Q-tips or cotton swabs: These are useful for cleaning narrow and hard-to-reach areas within the vents.
- Screwdriver or trim removal tools (if necessary): Some cars may require you to remove certain panels or trim pieces to access the vents. Be sure to have the necessary tools for this.
Step 2: Prepare Your Vehicle
Start by parking your car in a well-ventilated area, preferably out of direct sunlight. It’s essential to work in a comfortable environment. Open all the car doors and windows to ensure good airflow, especially if you use cleaning solutions with strong odors.
Step 3: Dust the Vents
Begin by dusting the exterior of the air vents. Use a microfiber cloth to wipe away loose dust and debris. It will prevent dirt from falling into the vents as you clean them, making the process more efficient.
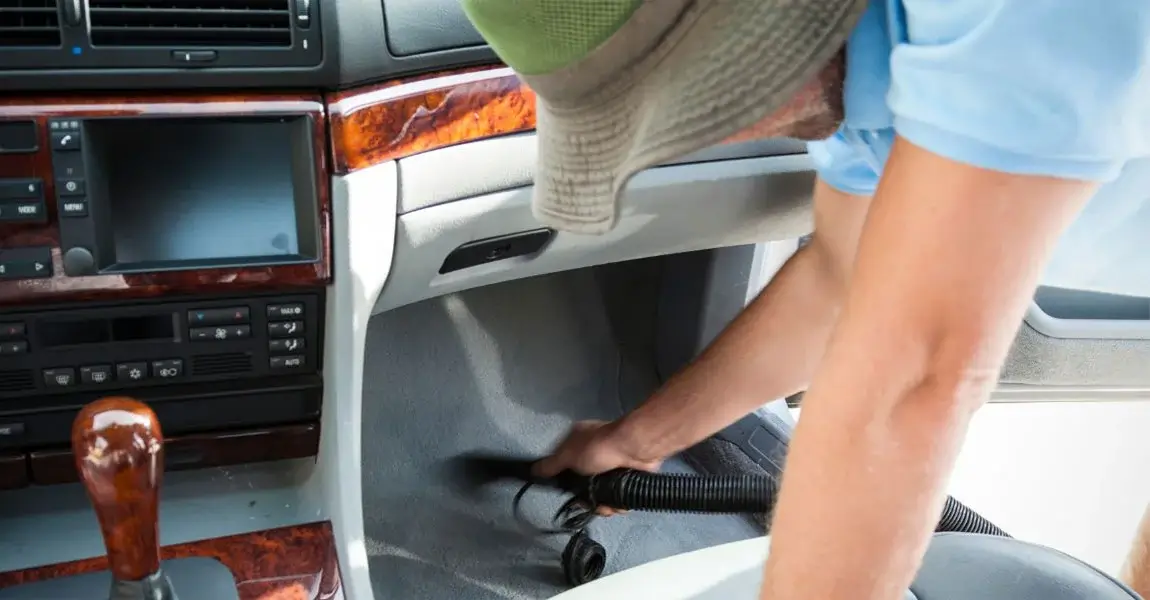
Step 4: Access the Vents
You can usually clean your car’s air vents without disassembling the entire dashboard. However, if your vents are particularly dirty or you suspect mold growth, you may need to remove some trim pieces or panels for better access. Refer to your car’s owner’s manual or consult online resources for guidance on safely removing these components.
Step 5: Blow Out Loose Debris
It’s time to use compressed air to blow out loose debris from the vents. Insert the nozzle of the air compressor or canned air into the vent openings and blow air through them. Start with the vents closest to you and work toward the back of the car. It will help push any dirt and dust out of the vents and toward the front of the car.
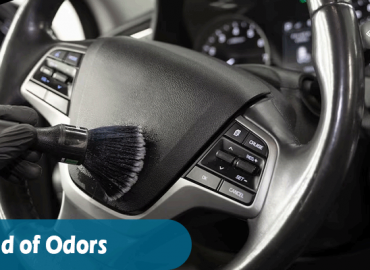
Step 6: Clean the Vents
After blowing out loose debris, it’s time to clean the interior of the vents. Dip a soft-bristle brush or a cotton swab in the cleaning solution. Gently scrub the interior of the vents. Clean thoroughly but gently to avoid damaging the plastic. Pay extra attention to areas where dust and dirt tend to accumulate.
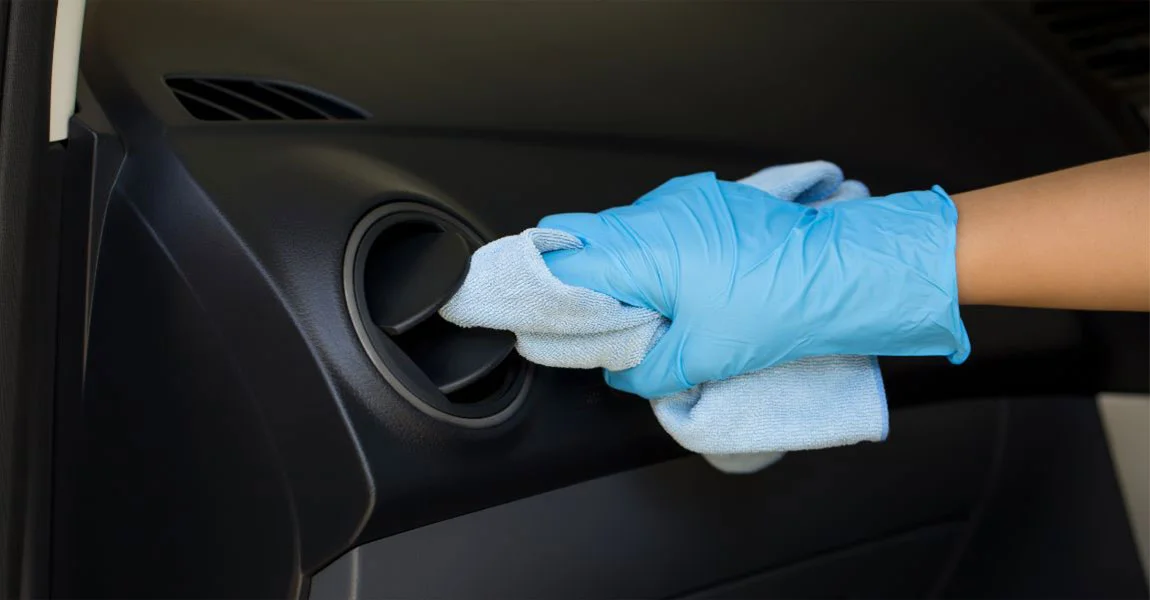
Step 7: Wipe Down the Vents
Once you’ve scrubbed the vents, use a microfiber damp cloth with the cleaning solution to wipe down the vent surfaces. It will remove any remaining dirt and cleaning residue. Again, be gentle to avoid scratching the plastic.
Step 8: Dry the Vents
After wiping down the vents, use a clean, dry microfiber cloth to dry the interior surfaces. Ensure no residual moisture is left behind, which can lead to mold growth.
Step 9: Reassemble If Necessary
If you had to remove any trim pieces or panels to access the vents, now is the time to reassemble them. Follow the manufacturer’s instructions or online tutorials for the proper reassembly procedure.
Step 10: Final Touches
To complete the process, consider using a car interior cleaner or conditioner to freshen the interior. Clean the dashboard, seats, and any other interior surfaces to give your car a thorough detailing. It will make your vehicle look and smell better and prolong the life of your interior materials.
Conclusion
Cleaning your car’s air vents is crucial to full interior detailing. It improves air quality, prevents allergies, and enhances your vehicle’s overall appearance and functionality. Ensure cleaning air vents by following the step-by-step guide outlined above and using the right cleaning products and tools. It will provide fresh, healthy air every time you hit the road. Make interior vent cleaning a regular part of your car maintenance routine, and you’ll enjoy a more comfortable and pleasant driving experience. Your car—and your passengers—will thank you for it!