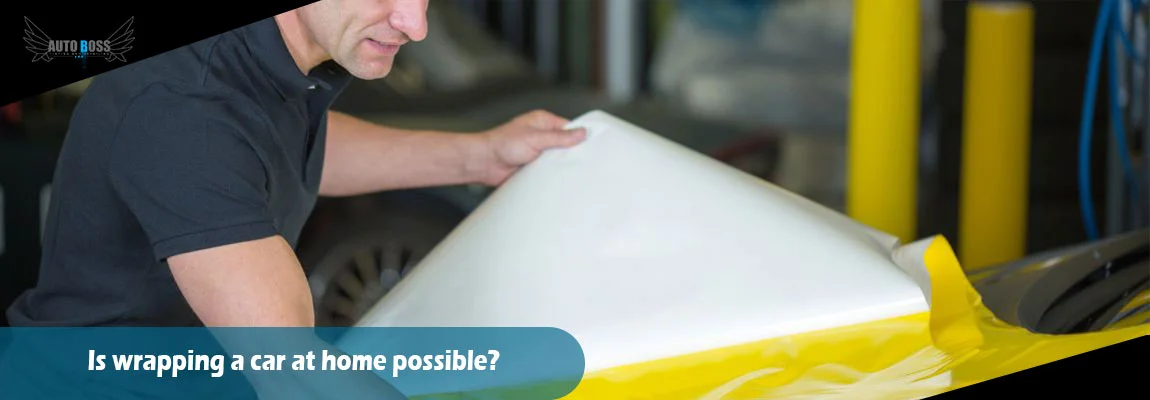
Wrapping a car has become a popular trend among car enthusiasts and those looking for a unique look of the vehicle. Whether it’s a color change, a custom design, or paint protection, car wrapping is a versatile and cost-effective solution. Many car owners turn to professionals for this service. There’s an increase in curiosity about whether car wrapping is possible to do at home. Here, I will discuss the feasibility of wrapping a car at home, the tools and materials required, and the step-by-step process.
Fundamentals of Vehicle Wrapping
Before talking about the specifics of wrapping a car at home, it’s crucial to understand the vehicle wrapping fundamentals. Here are some key points to consider:
Types of Wraps
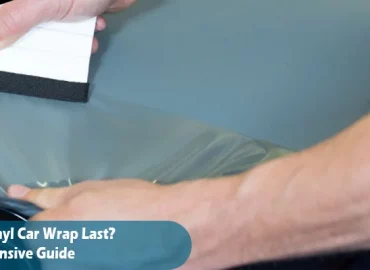
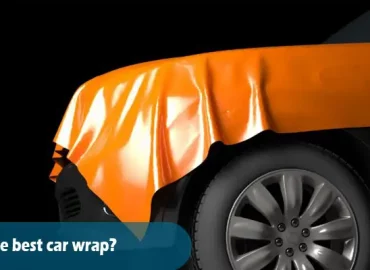
There are two primary types of vehicle wraps: vinyl and paint protection film (PPF). You can use vinyl wraps for aesthetic purposes, allowing you to change the color or design of your car. PPF is a clear film that protects against scratches and chips.
Vinyl Wrap Durability
Vinyl wraps are durable and long-lasting. Most quality vinyl wraps can last anywhere from 5 to 10 years or more if maintained.
Professional vs. DIY
We recommend Professional vehicle wrapping services for those seeking a high-quality finish and who have no experience with car wrapping. However, with the right tools, materials, and patience, it is possible to wrap a car at home.
Tools and Materials
You’ll require the following tools and materials to wrap a car at home :
Vinyl Wrap
Choose a high-quality vinyl wrap in your desired color or design. Make sure it’s specifically designed for automotive use.
Cutting Tools
You’ll need various cutting tools, such as a utility knife, precision cutting tools, and scissors, to trim the vinyl.
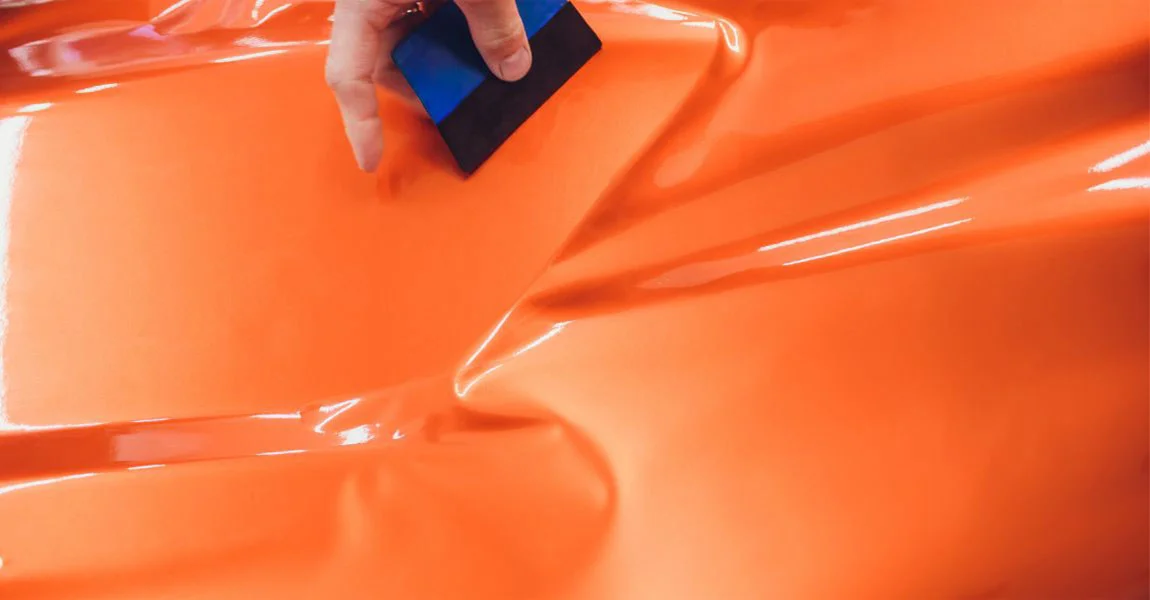
Squeegees
Squeegees help smooth out the vinyl. They help in removing air bubbles during the application process.
Heat Gun
A heat gun is essential for stretching and conforming the vinyl to the car’s contours, ensuring a tight and smooth finish.
Cleaning Supplies
You’ll need a car wash solution, microfiber towels, and rubbing alcohol to clean the vehicle before wrapping.
Workspace
A clean, well-lit, and well-ventilated workspace is essential to ensure a successful wrapping process.
Patience
Prepare yourself for a meticulous and patient approach to wrapping a car. It can be time-consuming.
Preparing Your Car
Before you begin the wrapping process, it’s crucial to prepare your car :
Clean the Car: Wash the car to remove dirt, grime, and any wax residue. Use rubbing alcohol to clean areas where the wrap will adhere.
Remove Hardware: Remove the removable parts such as emblems, door handles, mirrors, and trim pieces to ease the wrapping process.
Surface Inspection: Inspect the car’s surface for any imperfections like scratches or dents. You must address this problem before wrapping.
Temperature Matters: Choose a day with moderate temperatures (around 70-80°F or 21-27°C) to ensure that the vinyl adheres.
The Wrapping Process
Now, let’s dive into the step-by-step process of wrapping your car at home:
Step 1: Measure and Cut the Vinyl
Start by measuring the sections of your car that you intend to wrap. Leave a few extra inches for adjustments and trimming. Cut the vinyl into manageable pieces.
Step 2: Position and Apply the Vinyl
Begin by applying the vinyl to a small, flat area of your car, such as a door panel or hood. Use masking tape to hold the vinyl in place. Slowly peel off the backing paper. Apply the vinyl to the car’s surface with a squeegee to remove any air bubbles.
Step 3: Heat and Stretch
As you apply the vinyl, use a heat gun to warm it. It makes the vinyl more pliable and allows you to stretch it over curved surfaces and into recessed areas. Be cautious not to overheat or damage the vinyl.
Step 4: Trim Excess Vinyl
Once you apply the vinyl, use a utility knife and precision cutting tools to trim away the excess. Make precise cuts along edges and creases for a clean finish.
Step 5: Repeat the Process
Continue this process section by section, working your way around the entire vehicle. Take your time and ensure that you apply the vinyl without wrinkles or bubbles.
Step 6: Post-Application Heat and Pressure
After you apply vinyl, go over the entire wrapped surface with a heat gun and a squeegee once more. It helps ensure proper adhesion and eliminates any remaining air bubbles.
Troubleshooting and Maintenance
You might encounter some challenges during the wrapping process, even with careful planning and execution. Here are some common issues and how to address them:
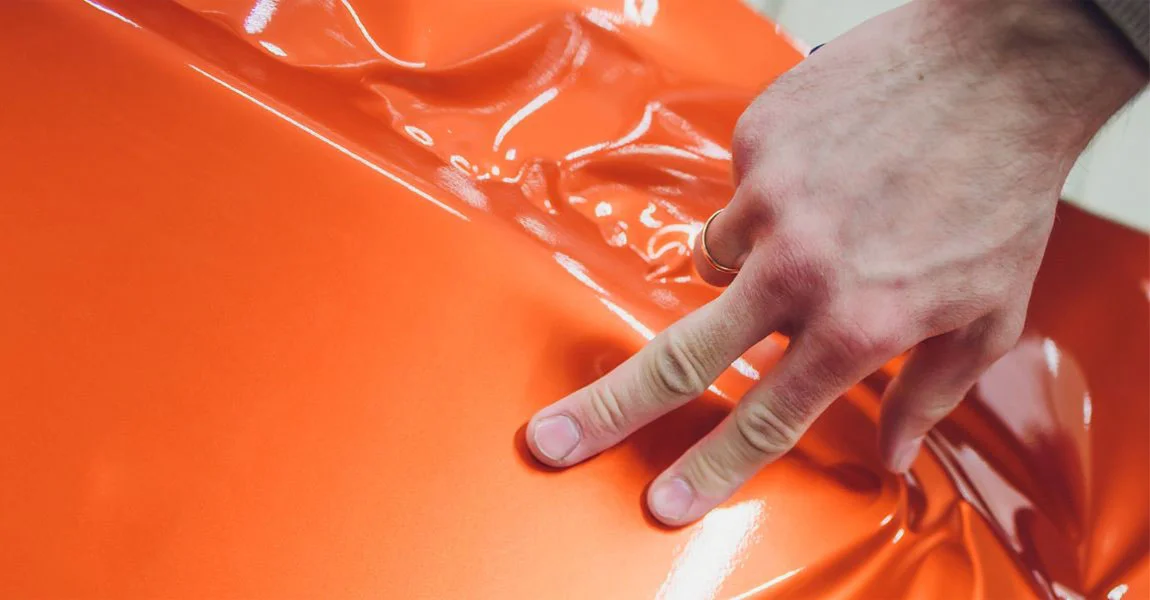
- Air Bubbles: Air bubbles can occur during application. Use a heat gun and squeegee to smooth them out towards the edges, where to release them.
- Wrinkles: If you notice wrinkles in the vinyl, lift the affected area and reapply it while using the heat gun to remove the wrinkles.
- Overstretching: Be cautious not to overstretch the vinyl, as this can cause it to thin out and lose its durability.
- Trapped Contaminants: If dust or debris gets trapped under the vinyl, you may need to lift the affected area. Remove the contaminants and reapply it.
Maintenance: Use mild soap and water to wash your car to keep the vinyl wrap looking good. Avoid high-pressure car washes and abrasive cleaning materials. Waxing is not necessary as it can damage the vinyl.
When to Seek Professional Help
While wrapping a car at home is possible, it’s essential to acknowledge that it’s a challenging and time-consuming process. There are instances where we recommend seeking professional help:
Complex Designs: If your design involves intricate patterns or many colors, a professional may achieve a better result.
Lack of Experience: If you have not gained experience, consider having a professional installer tackle the project to ensure a high-quality finish.
Limited Tools and Workspace: If you need more tools, workspace, or patience for the job, it’s best to leave it to the experts.
Conclusion
Wrapping a car at home is possible with the right tools, materials, and a lot of patience. It can be a challenging endeavor. It offers the satisfaction of a DIY project and customization options. However, You may need more clarification about your skills or the complexity of the desired design. In that case, it’s always a good idea to consult with a professional vehicle wrap installer to achieve the best results. Regardless of your choice, a well-executed car wrap can transform your vehicle’s appearance and protect its original paint for years to come.